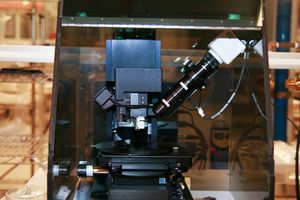
Step Profilometer (KLA Tencor P-7)
|
About
The Dektak VI is a profilometer for measuring step heights or trench depths on a surface. This is a surface contact measurement technique where a very low force stylus is dragged across a surface. The Dektak VI offers Windows based data acquisition, data analysis, and equipment control. The force of the tip on the surface is adjustable from .03 mg to 15 mg, allowing for the measuring of hard and soft surfaces. A stress measurement option is also included with this tool. The profilometer can measure to a depth of over 1 mm, allowing for direct measurement of MEMs type structures. Lateral resolution is tip-shape dependent and vertical resolution is 1A (when using the 6.55 mm range). The lateral resolution is limited by the tip shape. A video camera with variable magnification allows for manual placement of the stylus using the manual X, Y, Theta stage. Software analysis can determine roughness, average step height, etc.
Detailed Specifications
- 20 mm maximum sample thickness
- .03 mg to 15 mg variable tip force
- Height/Depth measurements to 1 mm
- 1 A vertical resolution at 6.5 um full scale
- Standard stylus radius is 12.5 um, optional 2 um stylus available
- 6 inch stage diameter with manual controls for moving and leveling
- Software data leveling and other analysis including stress
- Full GUI-based Windows control and data storage and exporting capability
