FIJI - Microscope Measurement Tools
This plugin for FIJI allows UCSB NanoFab users to make calibrated measurements on microscope and SEM images with freely available software, after the image acquisition.
Software
- FIJI is an open source package, based on ImageJ, for scientific image analysis across many disciplines.
- Download here.
- Microscope Measurement Tools (UCSB Fork) is a plug-in with pre-configured settings that provides the scaling factors for the UCSB NanoFab microscopes and SEMs. It also contains a script for drawing line measurements onto an image.
- This just automates the use of the `Set Scale...` built-in function.
Installation
- Download the Microscope Measurement Tools package. (Will be referred to as "MMT" for the rest of the tutorial.)
- Download FIJI
- Install FIJI accordingly.
- Unzip the downloaded MMT zipfile.
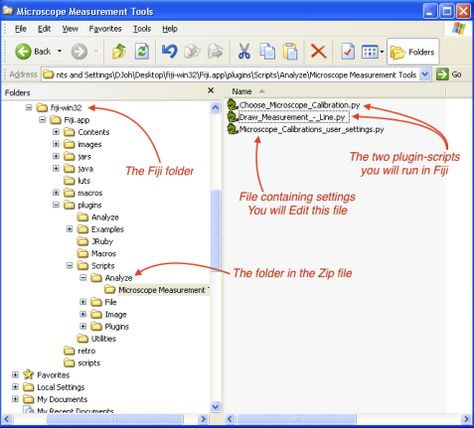
- Locate the Analyze folder inside the package.
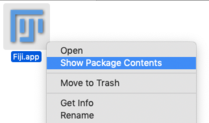
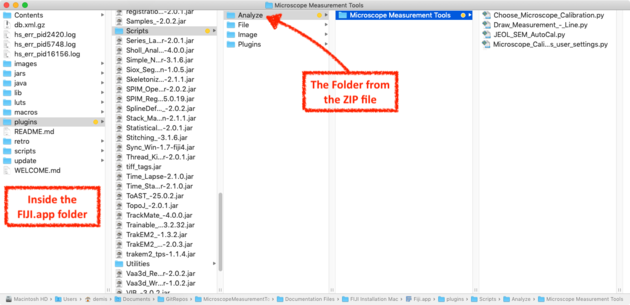
- Navigate to the FIJI Scripts folder, in FIJI.app / plugins / Scripts
- Copy the Analyze folder from MMT into the FIJI Scripts folder.
- In the off chance that an Analyze folder already exists in the FIJI scripts folder, merge the two rather than overwriting. You must have placed another script in the same menu location.
- (Re)Launch FIJI.
- There should now be a new menu option in Analyze > Microscope Measurement Tools
Add shortcut keys
Optionally add a shortcut key to execute the scripts.
| To Do: add steps |
Make a Measurement on an Image
- Download an image from one of our microscopes on Nanofiles.
- You must know which microscope and which objective the image was saved with.
- Open the image in FIJI (or open a copy to avoid overwriting the file)
- Run the script Analyze > Microscope Measurement Tools > Choose Microscope Calibration...
- Select the appropriate microscope and objective from the list and click OK
- The calibration has now been applied to the image. Any FIJI functions will now use the correct scaling.
- Enable the Line tool. Draw anywhere on the image you want to measure.
- While dragging, the (FIJI is just ImageJ) control window will show the calibrated measurement value of your line.
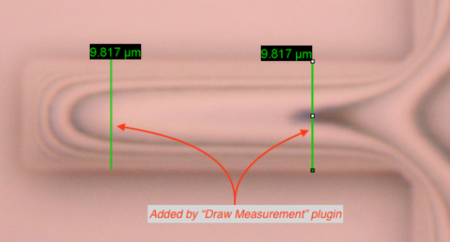
- To draw the measurement on the image, select the menu Analyze > Microscope Measurement Tools > Draw Measurement - Line
SEM Images
Images saved from the JEOL SEM automatically save a Text file with the same name, which contains the scaling information.
As long as this text file is kept in the same location as the image file, the function Choose Microscope Calibration >> JEOL SEM - AutoCal from TXT will set the measurement scale appropriately.
References
- The original general-use plugin can be found here: Microscope Measurement Tools on GitHub.
- Many other FIJI plug-ins are available here.
- Setting the scale on any image with FIJI or ImageJ.


